
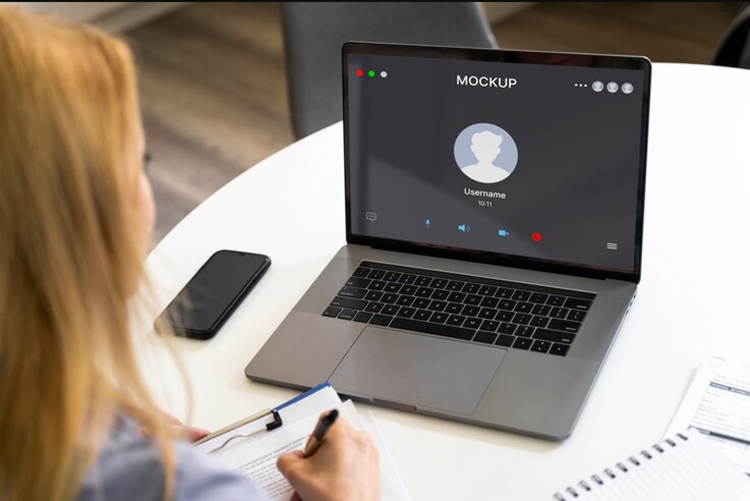
Looking to capture moments on your Dell laptop screen? Screen recording is a handy tool for tutorials, presentations, or sharing gameplay. In this guide, we’ll walk you through the step-by-step process of screen recording on your Dell laptop. Whether you’re using Windows or Linux, we’ve got you covered. From built-in solutions to third-party software recommendations, we’ll explore various options to suit your needs and preferences.
Learn how to effortlessly record your screen with high-quality visuals and clear audio. With our easy-to-follow instructions, you’ll be recording like a pro in no time.
Enhance your productivity and communication by mastering the art of screen recording on your Dell laptop. Let’s dive in and unlock the possibilities of sharing your screen with the world.
Post Contents
How to Do a Screen Recording on a Dell Laptop?
If you’re looking to record your Dell laptop screen, we’ve got you covered with this step-by-step guide.
Step 1: Choose the Right Screen Recording Software
The first step is to choose the screen recording software that best suits your needs. We recommend using OBS Studio, a free and open-source software that offers a range of customization options.
Step 2: Configure Recording Settings
Once you’ve installed OBS Studio, you can configure your recording settings by going to the “Settings” menu and selecting “Output.” Here, you can choose your recording format, bitrate, and other options to optimize your recording quality and file size.
Next, select “Video” from the “Settings” menu and choose your preferred resolution, FPS, and other video settings.
Finally, select the “Audio” tab to choose your desired audio recording device and settings.
Step 3: Start Recording
Now that you’ve configured your settings, you’re ready to start recording. To start recording, click the “Start Recording” button in the main OBS Studio window. You can also use hotkeys to start and stop recording, which can be customized in the “Hotkeys” menu in the “Settings” window.
Step 4: Edit and Save your Recording
After you’ve finished recording, you can edit your video using video editing software like Adobe Premiere Pro or Final Cut Pro. Once you’ve edited your video, you can save it to your preferred file format and upload it to your desired platform.
And that’s it! With these simple steps, you can start screen recording on your Dell laptop in no time.
Best Screen Recording Software for Dell Laptop
If you’re looking for the best screen recording software for your Dell laptop, there are plenty of options available. Here are some of the top choices:
| Software | Features | Compatibility |
|---|---|---|
| OBS Studio | Customizable recording settings Live streaming capabilities Advanced audio mixer | Windows, Mac, Linux |
| Camtasia | Easy-to-use interface Screen and webcam recording Professional video editing tools | Windows, Mac |
| Screencast-O-Matic | Scheduled recordings Integrated video editing tools Cloud hosting and sharing | Windows, Mac, Chromebook |
| FlashBack Express | Simple interface Record webcam and microphone Add text and images to videos | Windows |
All of these options provide excellent screen recording features and are compatible with Dell laptops. Choose the one that best fits your needs and preferences.
Remember to test out any software before committing to it. Most offer a free trial period or a limited version with basic features. Take advantage of this to see which software works best for you.
Now that you have a list of recommended screen recording software for Dell laptops, you can start creating high-quality recordings for any purpose. Just remember to choose the right one for your needs, and you’ll be well on your way to success.
Screen Recording Tips for Dell Laptop
Screen recording on your Dell laptop can be a great way to capture important moments or create video tutorials. However, sometimes things don’t go as planned. Here are some helpful tips and troubleshooting techniques to enhance your screen recording experience:
1. Optimize Your Settings
Before starting to record, make sure to optimize your settings for the best performance. Lowering the screen resolution can help reduce lag and improve overall quality. Additionally, closing any unnecessary programs or browser tabs can help free up system resources and prevent interruptions.
Do you know: How Much Does a Dell Laptop Weight?
2. Use the Right Software
Using the right screen recording software can make a big difference in your recording quality. We recommend using software specifically designed for screen recording, such as Camtasia or OBS Studio. These programs offer advanced features, such as adjusting audio and video quality, that can help you create high-quality recordings.
3. Avoid Background Noise
Background noise can be distracting and lower the quality of your recording. Try to record in a quiet environment and use a headset or microphone to ensure clear audio. Additionally, turning off any notifications or alarms on your laptop can help prevent interruptions.
4. Check Your Storage Space
Screen recordings can take up a lot of storage space on your laptop. Before starting to record, make sure you have enough storage space to save your recording. If you’re running low on space, consider deleting any unnecessary files or moving them to an external hard drive.
Troubleshooting Common Issues
| Issue | Solution |
|---|---|
| Recording is too dark or bright | Adjust the brightness and/or contrast settings on your laptop |
| Recording is laggy or choppy | Lower the screen resolution or close any unnecessary programs |
| The recording is too dark or bright | Check that your microphone or headset is properly connected and turned on |
| Recording won’t save or upload | Check that you have enough storage space and that your internet connection is stable |
By following these tips and troubleshooting techniques, you can create high-quality screen recordings on your Dell laptop without any issues. Happy recording!
Conclusion
In conclusion, mastering screen recording on your Dell laptop opens up a world of possibilities for communication, productivity, and creativity. Whether you’re creating tutorials, sharing presentations, or capturing gameplay, knowing how to record your screen effectively is a valuable skill. Throughout this guide, we’ve explored various methods and tools to help you achieve seamless screen recordings with high-quality results.
By following our step-by-step instructions and utilizing the recommended software, you can easily capture and share your screen with confidence. So, go ahead, unleash your creativity, and make the most out of your Dell laptop’s capabilities. With screen recording at your fingertips, the possibilities are endless. Happy recording!
FAQ
How do I start screen recording on my Dell laptop?
To start screen recording on your Dell laptop, follow these steps:
- Launch the screen recording software of your choice.
- Choose the screen recording option.
- Select the specific area of your screen you want to record.
- Begin the recording by clicking the record button.
- When you’re finished, click the stop button to end the recording.
What are the recommended screen recording software options for Dell laptops?
Some of the best screen recording software options for Dell laptops include OBS Studio, Camtasia, and Bandicam. These programs offer a range of features, customization options, and compatibility with Dell laptops to ensure a smooth recording experience.
How can I improve the quality of my screen recordings on a Dell laptop?
To enhance the quality of your screen recordings on a Dell laptop, try these tips:
- Use a high-resolution display.
- Close unnecessary applications to free up system resources.
- Ensure sufficient storage space on your laptop.
- Adjust the screen recording settings for optimal resolution and frame rate.
- Consider using an external microphone for better audio quality.
What should I do if I encounter issues with screen recording on my Dell laptop?
If you encounter issues with screen recording on your Dell laptop, try these troubleshooting techniques:
- Check for updates on your screen recording software and Dell laptop drivers.
- Restart your laptop and the recording software.
- Disable any conflicting applications or processes.
- Adjust the recording settings to lower quality or different formats.
- Contact customer support for the screen recording software or Dell for further assistance.