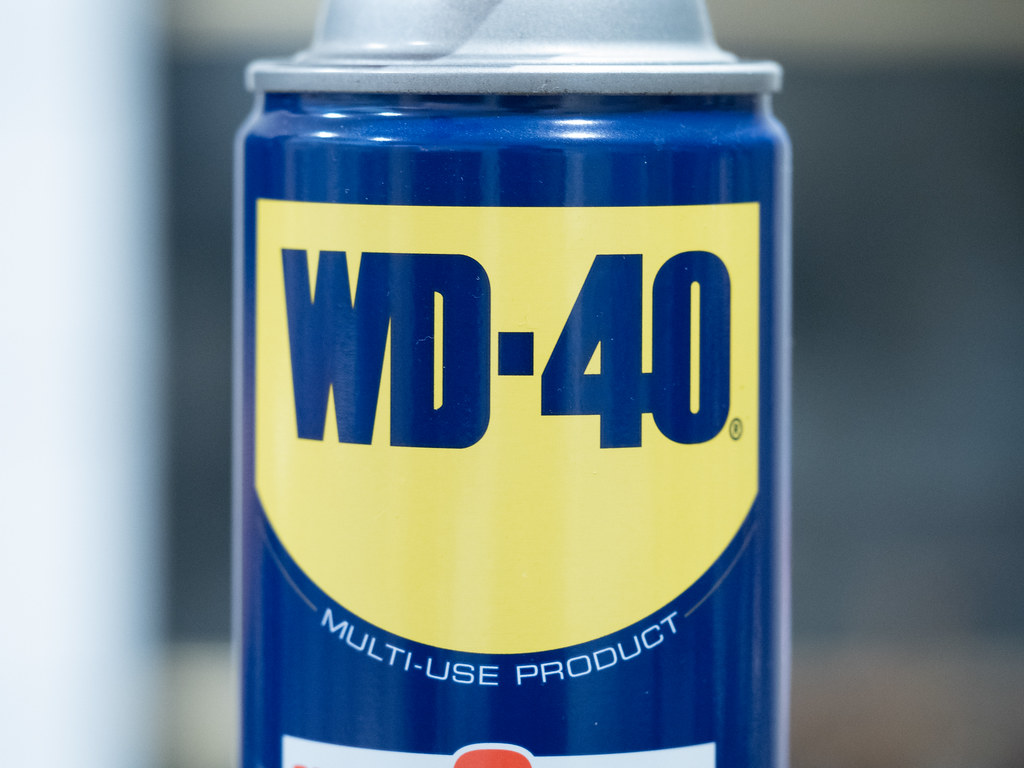
WD-40 is a staple in many households and workshops, known for its versatility in solving a wide range of problems. While it’s commonly associated with mechanical fixes and rust prevention, WD-40 can also be a valuable asset in crafting and DIY projects. This article explores various ways to use WD-40 to enhance your crafting and DIY endeavors, making tasks easier, more efficient, and effective.
Post Contents
Understanding WD-40
What is WD-40?
WD-40, which stands for “Water Displacement, 40th formula,” was developed in 1953 by the Rocket Chemical Company. Its unique formulation includes lubricants, penetrants, water-displacing agents, and cleaning agents, making it suitable for numerous applications.
Key Properties
- Lubrication: Reduces friction and wear on moving parts.
- Penetration: Loosens rusted or stuck components.
- Water Displacement: Prevents rust by repelling moisture.
- Cleaning: Removes grease, grime, and adhesive residues.
- Protection: Leaves a protective barrier against rust and corrosion.
1. Cleaning and Preparing Surfaces
Removing Adhesive Residues
When working on crafting projects, removing old stickers, labels, or tape residue can be a hassle. WD-40 effectively dissolves these sticky residues, making surfaces clean and ready for new applications.
Steps to Remove Adhesive Residue
- Spray: Apply WD-40 to the adhesive residue.
- Wait: Let it sit for a few minutes to break down the adhesive.
- Wipe: Use a clean cloth or sponge to wipe away the residue.
- Clean: Follow up with a mild detergent and water to remove any remaining WD40 residue.
Cleaning Tools
Crafting tools can accumulate dirt, glue, paint, and other residues. WD-40 can help clean these tools, ensuring they remain in good working condition.
Steps to Clean Tools
- Spray: Apply WD-40 directly onto the tools.
- Wipe: Use a clean cloth to wipe away dirt and residues.
- Repeat: Repeat as necessary until the tools are clean.
- Dry: Dry the tools thoroughly to prevent rust.
2. Lubricating Crafting Equipment
Ensuring Smooth Operation
Many crafting and DIY projects involve equipment with moving parts, such as scissors, rotary cutters, and sewing machines. WD-40 can keep these tools operating smoothly.
Steps to Lubricate Equipment
- Identify: Locate the moving parts that need lubrication.
- Clean: Remove any dirt or old lubricant from the parts.
- Spray: Apply WD-40 to the moving parts.
- Operate: Move the parts to distribute the lubricant evenly.
- Wipe Excess: Remove any excess WD-40 to prevent dirt buildup.
Benefits
- Prolongs Lifespan: Reduces wear and tear on crafting tools and equipment.
- Improves Performance: Ensures smooth and efficient operation.
3. Preventing Rust on Metal Crafts
Protecting Metal Components
If your DIY projects involve metal components, such as wire, screws, or metal sculptures, WD-40 can help prevent rust and corrosion.
Steps to Prevent Rust
- Clean: Ensure the metal components are clean and dry.
- Spray: Apply a light coat of WD-40 to the metal surfaces.
- Wipe: Use a clean cloth to spread the product evenly and remove excess.
- Store: Store the metal components in a dry place to prevent moisture buildup.
Benefits
- Prevents Rust: Protects metal crafting materials from rust and corrosion.
- Extends Lifespan: Increases the durability of metal components.
4. Aiding in Crafting Adhesion
Improving Adhesion of Materials
Certain crafting materials, like plastic or metal, can be difficult to glue or paint due to their smooth surfaces. WD-40 can help by preparing these surfaces for better adhesion.
Steps to Prepare Surfaces for Adhesion
- Clean: Clean the surface to remove any dirt or grease.
- Spray: Apply a very light coat of WD-40 and wipe it off immediately. This leaves a slightly roughened surface.
- Glue/Paint: Proceed with gluing or painting the surface as needed.
Benefits
- Enhances Adhesion: Makes it easier for glue and paint to stick to smooth surfaces.
- Improves Finish: Ensures a better and more durable finish.
5. Removing Paint and Varnish
Stripping Old Finishes
When upcycling furniture or refurbishing items, removing old paint or varnish is often necessary. WD-40 can help soften and remove these finishes.
Steps to Remove Paint and Varnish
- Spray: Apply WD-40 to the painted or varnished surface.
- Wait: Let it sit for a few minutes to soften the paint or varnish.
- Scrape: Use a scraper or brush to remove the softened finish.
- Clean: Wipe the surface clean with a cloth.
Benefits
- Effective Removal: Softens old paint and varnish for easy removal.
- Prep for Refinishing: Prepares surfaces for new paint or finish.
Additional Tips for Using WD-40 in Crafting and DIY
Regular Maintenance
Incorporate WD-40 into your regular crafting and DIY maintenance routine to keep tools and equipment in top condition. Regular use can prevent buildup and wear, making projects easier to manage.
Safety Considerations
While WD-40 is effective in crafting and DIY projects, it’s important to use it safely:
- Ventilation: Always use WD-40 in a well-ventilated area to avoid inhaling fumes.
- Skin Contact: Wear gloves if necessary, and wash hands thoroughly after use.
- Proper Storage: Store WD-40 in a cool, dry place away from direct sunlight and out of reach of children.
- Flammability: Keep WD-40 away from open flames, sparks, and high heat sources.
Proper Disposal
Dispose of WD-40 cans and any used rags properly, following local regulations for hazardous waste disposal. Ensure that used rags are stored in a safe, non-flammable container until they can be disposed of.
Conclusion
WD-40 is an incredibly versatile tool that can enhance your crafting and DIY projects in numerous ways. From cleaning and lubricating to protecting and preparing surfaces, its applications are nearly endless. By incorporating these uses of WD-40 into your crafting routine, you can make your projects more efficient, effective, and enjoyable. Always remember to use WD-40 safely and responsibly to maximize its benefits and minimize any potential risks. With WD-40, you can tackle a wide range of crafting and DIY challenges with ease and confidence.

